Showing posts with label Spellbinder. Show all posts

Wednesday, December 1, 2010

Happy Holidays

Hey y'all. In an effort to be better prepared, I started doing a few mock-ups for Christmas cards. I did this one and although I am blown away by the results, I do not think it is one I will make to send to everyone. It is not designed for assembly line style . Maybe if I cut the trees on the Cricut, it would work. 

Anywho, here it is and what I did. You can view the card from either side. I love it.


I will try to keep this write up brief...it is close to midnight. So I used the Fancy Pants Holly Jolly and Frosted line for the card base (although you cannot see it---I did some incredible stamp work on it). I created an accordion fold by scoring at 2", 4", 6", 8" and 10" on a 6 x 12 sheet of paper. I cut a 2 x6 piece of Frosted to cover the base and the acetate overlay which is from the Slice line. I punched snowflakes from the Spellbinder dies and did some overlays on the Frosted which was edged with Vintage Photo. 
 
The trees on the inside are chipboard pieces from Fancy Pants Happy Holidays printed chipboard shapes. They are pretty heavy, but the Fancy Pants cardstock is heavy duty and can stand up to the weight. Especially if you cut with the grain and score and fold against the grain. Makes for a nice crisp fold. 
I digress. You can see my Vee-dio on paper cutting to get a better idea of what I mean. 
 
The trees were already decorated on one side and when I removed the adhesive liner I covered the back with coordinating pieces from the Fancy Pants Line. 

On some of them I stamped, embossed and/or used glitter. I went around all of the sides with an ink cube to hide the raw edges. As you can see, I added Skittles/Dew Drops to one of the trees.


 I attached the trees with one of my favorite adhesives--Glossy Accents. 

The acetate overlay was cut to 6 x 12 and scored at the 6 inch mark. I did not want the acetate to go all the way to the bottom of the card.  It was attached using the Glossy Accents. I covered that with the Frosted piece and hid the line by covering it with a piece of really pretty ribbon--reminds me of the Martha Stewart double edge punch---it came in a holiday kit I purchased from QVC.

The journaling is also from the Fancy Pants Happy Holidays chipboard kit and was perfect to work as titles for the card. 

It has been my pledge to use my Cricut more and for some reason I am stuck on the reindeer. So I used it again but this time used some holiday rubons from Cloud 9 for the neck gear and on the white cotton tail. Enamel accents adorn those swirly antlers and black glitter covers the hooves. I also spritzed the reindeer with the Coffee Shop Glimmer mist. It is cut at 2 1/2" and has a shadow.


Gosh can you tell that I am gushing over this card? I glued the accordion at the top inside of the fold with the Scotch Quick Dry Adhesive. Here is a side view.


 I LOVE it!!!! Here are a couple more views.


Hope this card provides some inspiration for you and helps you to look at your stash just a bit differently. I was hesitant about the floraly overlay, but it is perfect for this card. Makes it look more like a winter wonderland.

It was a treat for me to envision this card and then bring it life. Getting to use my stamps, inks and sprays was awesome although much of it is hidden in the folds. I know why do the work only to hide it. Its kinda like what our mothers would say: Always wear clean underwear, you never know when you might have to go to the hospital by ambulance. Although you don't see the inside, I know that this is a finished card. 

Keep thinking of new ways to ink during this festive season.
Until then.

Sunday, November 28, 2010

It's beginning to look a lot like Winter

Ha, ha, ha. I know you were expecting to read, Christmas. I must admit, it is beginning to resemble that time of the year. Especially since my tree is up and decorated. No presents as of yet. Just to keep myself in the mood, I am posting a card I did for our November Challenge and a submission entry for a design team call. 


Without further ado, here is the card:
Merry Christmas, Deer

This card was created using the deer cut at 3 inches (images 3& 4) from the Christmas Solutions cart, Martha Stewart snowflake punch--Echo Park Christmas pack, and the Spellbinder Beaded oval die--also Echo Park paper. Red pearls are Kaiser Kraft. The creamy ones, not sure, but their quality is not that great. Might have grabbed them from a discount barrel. You get what you pay for. Antlers and hooves are colored using a Sakura metallic brown pen. Spritzed the card with Peach Delights Glimmer Mist and the label with Red Velvet Glimmer Mist. The stamp is Studio G stamped with black ink and embossed. I know I could have jazzed this up with lots of other embellishments, but kinda like the simplicity. And from another angle.

Merry Christmas, Deer


And then last but not least is a layout I submitted as one of my design team entries. I think I submitted four in all.

The base paper is Fancy Pants  Spring Fling (circles) and Holly Jolly (green) with the ivy embossed panel done with a Sizzix plate and brought out with the Shabby Shutters and Chipped Sapphire Distress Inks. Also used the Martha Stewart deep edge Presents punch. I know I said to someone else that I did not need this one since I had the smaller version. Famous last words. The Looky, Looky was done on the computer using the Snowdrift font. The circles (Spellbinder) are Fancy Pants Holly Jolly line and overstamped with a Fancy Pants writing acrylic stamp and edged with Adirondack inks: Oregano, Lettuce and Ginger.  The photo doesn't show it, but the Outlines Rubber stamp trees are all glistening from Sakura stardust pens. Have I mentioned before how much I love those pens? The presents are the circles that I cut away from the Outlines tree background and used a Fiskars punch and reassembled on a white base. Fiskars has some super cute Christmas ones this year.

I will spill the beans on which company when I hear from them---one way or the other.

Have been spending more time with my son. Hope to get some projects completed and posted in the next few days. All with lots of ink. I should change my name to inky fingers. Nah, too close to icky...lol.
Until then.

Wednesday, November 10, 2010

CropChocolate Online Crop: Challenge 6

Ok, I have to admit that this one was probably my favorite challenge. When I participate in these events, I want to produce something that I can use or send out to someone. The cards made in my Vee-dios are sent out to people, unless they go terribly awry, then I cut them up to make something else. 

This challenge was to create a Thankful Journal. You could make one of your own, directions were provided, or you could alter the front of your binder or notebook. I chose the latter. 

I purchased this black journal quite some time ago. Always with the intentions of enhancing it somehow. This crop challenge provided the perfect opportunity. 


The label is of the easy peel off variety. My hands were itching to remove it and get started. So first I pulled out a stash of potential materials to use.


I sat and stared at everything for a bit, wondering where to start. Then I remembered a layout by Sue Wilson that really appealed to me on some level. I took several of her elements and pulled them into my interpretation. I pulled out my Basic Grey Ambrosia paper pack and selected a few sheets, some stamp images, alphas, and sayings, Spellbinder dies and a few other things I thought I might press into service.


After much cutting, trimming and inking, I was left with this incredible journal in which to record my thoughts and actions on being thankful and showing my gratitude to those who help me.


All of the papers are from the Basic Grey Ambrosia collection. I just love the warmth of the colors in this line. It is reminiscent of India to me. The patterns are awesome and there is such a nice mix.

I used several Spellbinder dies: Beaded Ovald, Labels 10 and Labels One and the Classic Oval. I inked the edges of the dies with Distress Ink, dipped them in clear embossing powder and heat set the powder.
The large background oval was cut from a Fiskars large oval template. I used the Martha Stewart corner Family punch to go around the oval.


Once that was completed I pulled out a variety of Tim Holtz Distress Inks and used those to enhance the oval. I also used an Inque Boutique swirl stamp and used the Distress Inks with it. My son caused me to drop my ink pad on the oval, and I covered that with the Labels One Nestability die.


I used the Nestabilities as a template and traced the outside rim to get a smaller border around my pieces.


I stamped Be Thankful and Gratitude using an Inkadinkado harvest set. Embossed and heat set them and then went over them with my Sakura black gel pen. Will have to tell you the story about how I destroyed my embossing gun. Yep, melted that sucker right on down. But I digress. I glued the two pieces together using my ATG. At this point I used my Ranger white gel pen to place decorative dots around each cut's narrow frame.


The Bible quote was computer generated. I cut it using a Spellbinder Classic Oval die so that it would fit on top of the beaded oval die. I inked the inside edge with Tumbled Glass. I added some bling to the black beaded oval by 'painting' the beads with my embossing pen and then painting on some gold Pearl Ex powder. I did set the faux beads with a fixative.


At this point it was time to layer all of the pieces. The punched family went down first. Then I placed the Labels One die, then the Labels 10 die and finally the quoted piece. I thought about tying a ribbon and adding pearls or rhinestones or dew drops to the points between the family but opted not to do so. I like the look of this journal.


Yippee, got to use my inks. I am very thankful to Tim Holtz for dreaming of and then ultimately creating this wonderful line of inks.
In the name of love of course.
Until then.

P.S. The final challenge, #7, was hosted by Laura. You will have to return to see my take on her challenge project.

Tuesday, November 9, 2010

CropChocolate Online Crop: Challenges #2A&B

This challenge was based on what you ordered from a menu selection. We did this on Saturday night. On today, Sunday, we found out what our menu choices meant.
I ordered: Appetizer--potato wedges, Entree--Chicken Pasta, Soup--Cream of Broccoli and for Dessert--Chocolate Sundae.

That meant that my card/layout had to be: 
Entree--Black 
Appetizer--Square
Soup--Punched out shape or trim
Dessert--Stamped

So when I belched (lol) here is what came out.


My photography skills do not do justice to this card. The Pearl Ex makes it all very sparkly and pretty.

So how did I get started? It is a bit long so grab a cuppa and come back.


First, I selected the 12 x 12 American Crafts Black Metallic: Foil Linen card, cut it in half and then in half again so that I ended up with 4 6x6 pieces. I only used three of them.


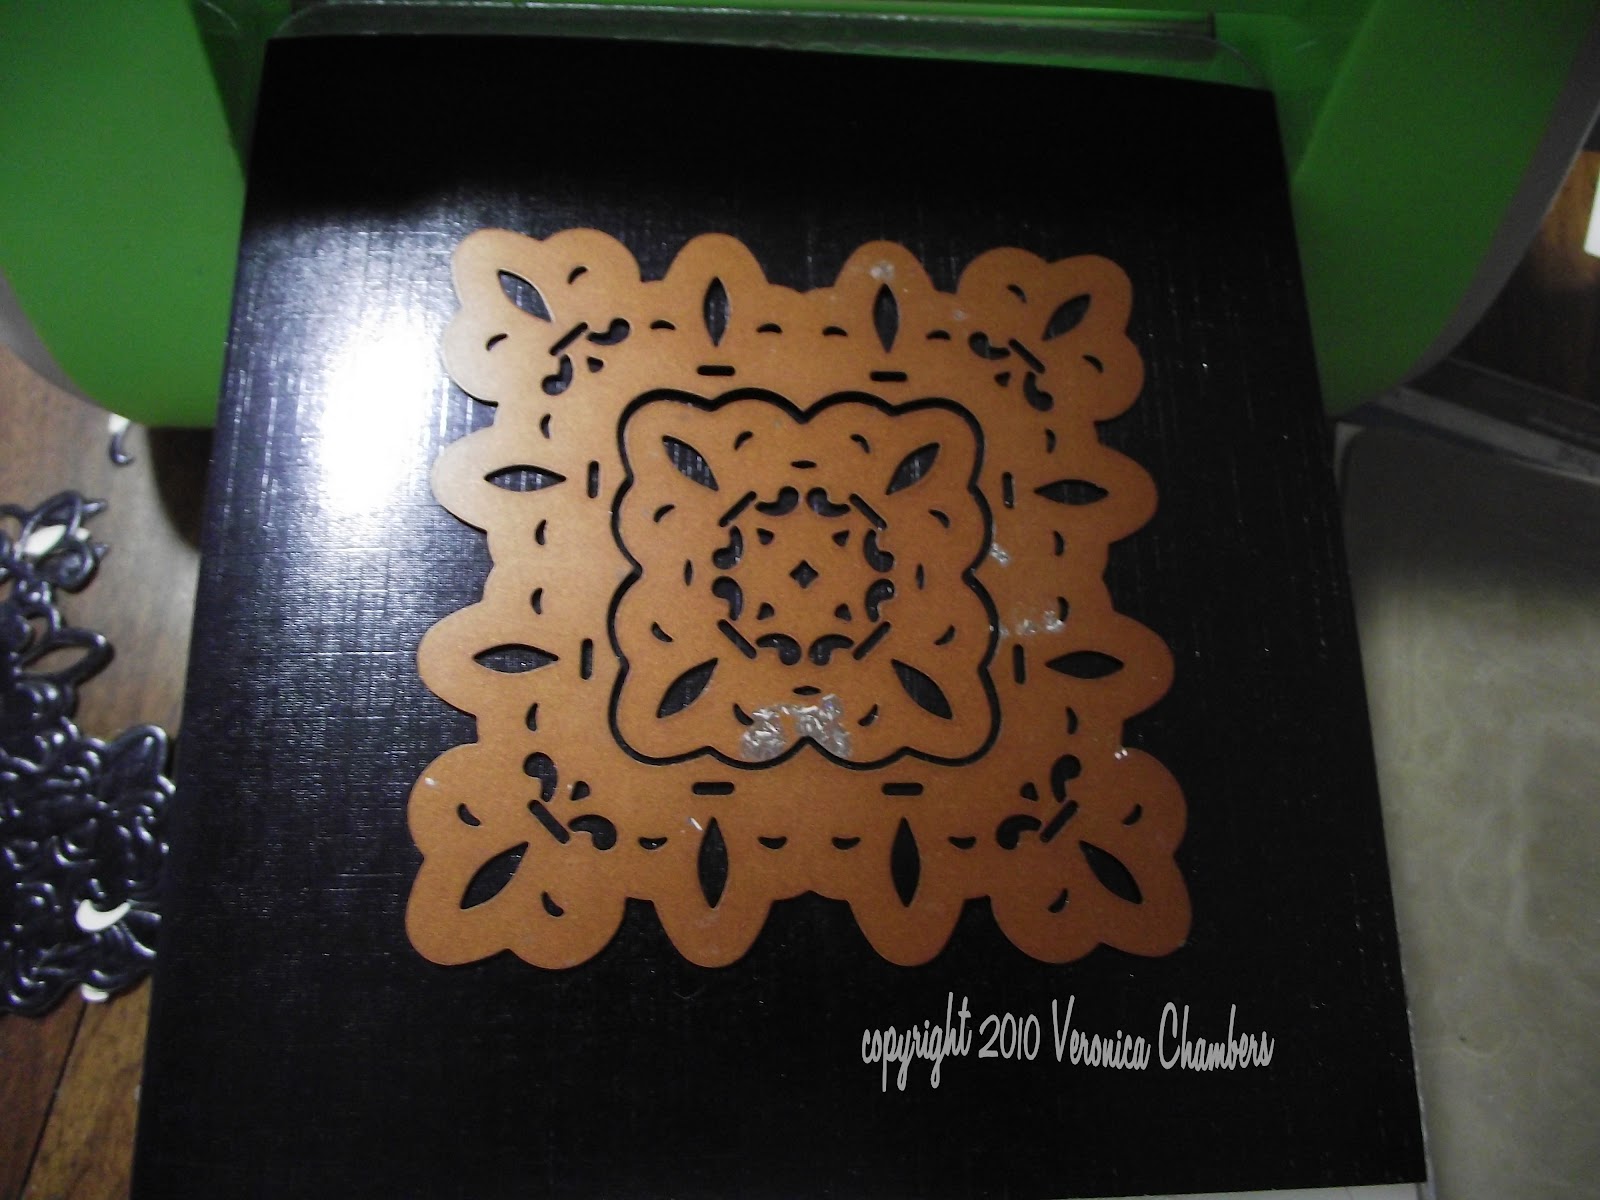
I then selected the Spellbinder Spades Pendant for my window opening. I stacked all three pieces of card and put them through my Cuttlebug. This cut the first piece and made impressions on the second two pieces. I used that as a placement guideline to cut the other two pieces. 

After cutting them I embossed each piece one at a time. I used the Sizzix Paisley board for this one. The sandwich I built was A Plate,Sizzix texture plate, Paper in face down, Purple embossing pad, two pieces of shim, and the purple plate that comes with the Sizzix kit. You can do the same with the CB B plate and the Spellbinder tan embossing mat, it might not cover the entire plate.
 
 
This extra bit of shim results in a nice crisp impression.

After going through the Cuttlebug, I needed to trim the sides of the card that became frayed. I removed 1/4 inch from each side resulting in a card that measures 5 1/2 x 6 inches.


Once all three pieces were trimmed decorating time came. I used my small Versamark cat's eye to rub over the raised portions of the card. I then used the Pearl Ex Powders: Super Gold, Super Copper, and Duo Red-Blue to 'color' my card. Once they were all 'colored' I fixed the Pearl Ex with this fixative. I sprayed into the air and then wafted the card through the mist. This sets the powder so that it does not rub off onto your hands.


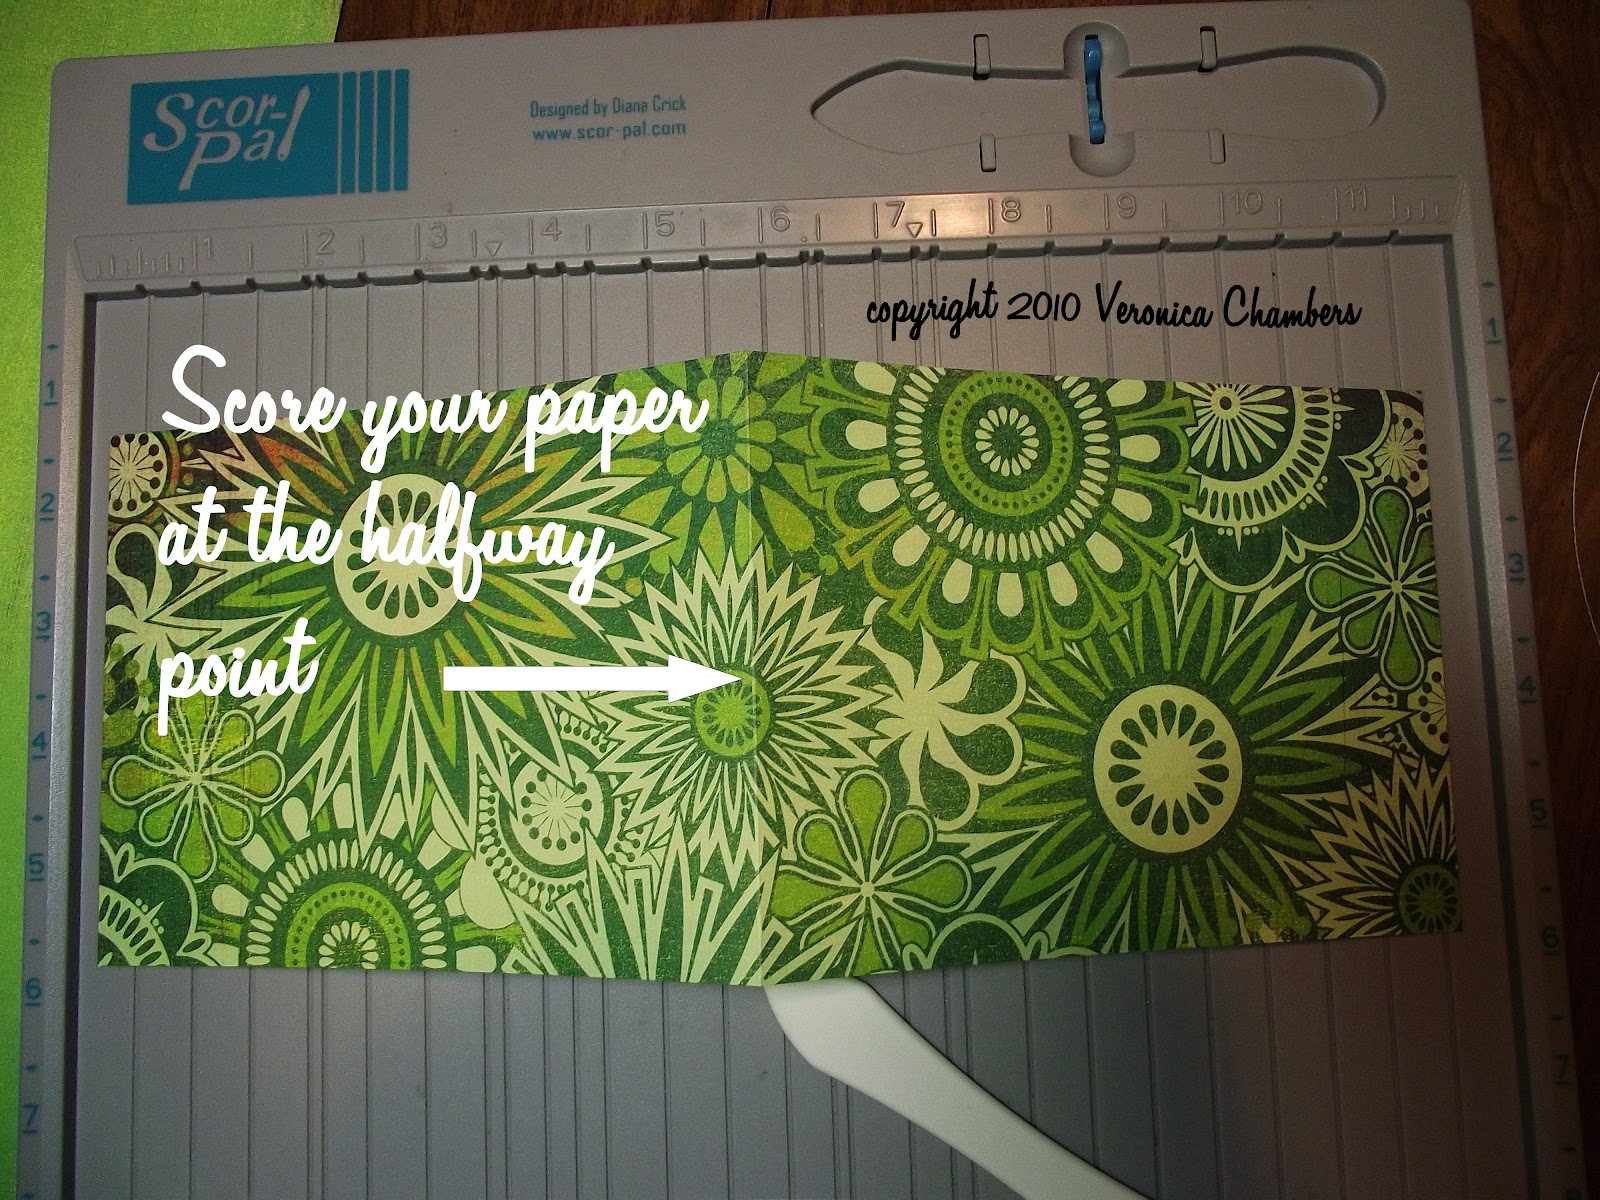
Next, I scored all of the pendant frames right down the middle. Since I removed 1/2 an inch this might not be directly on a score line. Since you are dividing the frame down the center line it really has no bearing on where you place the piece to get your score mark.


After scoring and folding all three pieces, I was ready to glue. I used the ATG for this as the adhesive is VERY strong. (I found that if you have ink or mist or whatever between the two pieces you are gluing--using the ATG-- that if you make a mistake it lifts off pretty easily--if you do it right away.)


I applied adhesive to one side of the card and adhered it to one of the other matching sides. Be careful...b/c I trimmed the pieces, I want the edges to line up along with the inside pieces. You can nudge this a bit if you must.


Next I took a length of ribbon (Anna Griffin) tied a bow and placed it along the seam of the first two cards. Since this ribbon is very wide, I narrowed it by folding it over and using a strip from the ATG. This makes sure that it will not come open. Make sure it is attached at the bottom also.


I then applied adhesive to the other side and attached the third piece on one side only. Does that make sense? Again being careful to line up the cut pieces.


Then I attached the embellishments to the card. For the small die cut I used the inside piece from the pendant die and 'colored' it with the Pearl Ex powders. I stamped the background script (Heidi Swapp) using the Hydrangea Big and Juicy. The Just for you was stamped with black archival ink and cut using the Inverted scallop Spellbinder die--also cut a black piece. I inked around the insides using black archival ink. I attached the medallion using my Quickie glue pen.


Finally, I affixed the last side and viola...thar she blows, matey.


I think for photographing this card properly, I needed more and better lighting. It is gorgeous in person. Oh, since this card is white on one side, I inked the exposed edges in blue ink. As you can see, I got a bit carried away with my fold and some of the white shows through, this can be easily fixed by using a black marker or ink to cover those white spots. If you like how it looks, leave it be.


When I was making my menu choices I had no idea I was selecting to do a black based layout, with squares, a punch out/trim and a stamp. I think I met the challenge. What do you think?
By the way, I have also done this as a two panel swing card by removing the center. This does fold flat for mailing.
FYI, I did not do Challenge 4--create a home decor piece using a word, wooden letters, etc. I wanted to do something for Z's Art Gallerie but the wooden pieces I wanted to use are packed in a container high on a closet shelf. I can see them, just cannot get to them.
I also bowed out on Challenge 5--that was to scraplift someone's layout from the site and change three elements.

Lo and behold, I did complete Challenge 6. You'll have to come back to find out what it was and what I did.
Lovingly done in ink might I add.
Until then.


Sunday, November 7, 2010

CropChocolate Challenge #3

This challenge was to create an Easel card. I have done several of those and did a really cute one for a summer challenge. I was scrambling for a 'new' idea for this one and decided to do a dinner invitation. I had considered doing a menu card for the actual dinner, but was getting a bit tired and wanted a stamp plain and simple. Here are the results.


I wanted a bit of flair for the card so I used the Spellbinders Mega curved rectangle dies for the project.

I first cut the base card at 4 1/2" by 12" and scored and folded it in half. The die I am cutting with measures 4 inches. This will make sure that the entire card gets cut.


I used the largest die for this project and placed the folded card with the fold just underneath the cut line at the top. This will ensure a connected card once it has been cut.


After cutting the base card, I went to my score board and scored on the halfway mark of just one of the rectangles.


Since the Basic Grey Lime Rickey paper is one sided, I decided to cover the bottom portion with a coordinating piece of card stock to cover the white. I placed it just shy of the cut lines so that it would be the same size as the card. I inked the white base just in case my gluing went awry.


Then I cut the base layer piece out of a single sheet of green paper using the die just one size down. I then embossed with a Sizzix folder and used Peeled Paint Distress Ink to bring out the embossing. I used a cut n dry foam pad and gently swiped over the raised portions.


Next in line was the frame for the rectangle. I used a magnetic sheet I have to hold the two rectangles in place to get an evenly cut frame. I then put that through the Snowflake Cuttlebug folder.

I also cut a large rectangle from the patterned paper for the standing piece. 

The next size down was cut for the stamping of the invitation. This was done on white card stock and edged with green and yellow inks. The Martha Stewart Dinner stamps were used. The green ribbon is simply there to hide a boo-boo. ooooppppssss.

Here are all of the components of the card.


All pieces were distressed with Shabby Shutters ink. Foam dots were placed under the frame to give some depth.


 Now it is time to apply the standing piece to the card base. Remember that you are only gluing down half of the card. Only apply adhesive to the bottom portion of the card.


Glue the solid green piece to the bottom of the base card. Your card is now completed. The texture on the card and the base piece keeps the card standing. 


If you want extra support stamp and cut out another element and adhere that about 1/3 from the edge of the base card. This will help the standing card stay in place.


It is now time to see if I can complete at least one more challenge. I have so much other work to do today that it might not happen. If it does, I will be certain to post it here.
Of course loaded with lots of ink.
Until then.