

I wanted a bit of flair for the card so I used the Spellbinders Mega curved rectangle dies for the project.
 I first cut the base card at 4 1/2" by 12" and scored and folded it in half. The die I am cutting with measures 4 inches. This will make sure that the entire card gets cut.

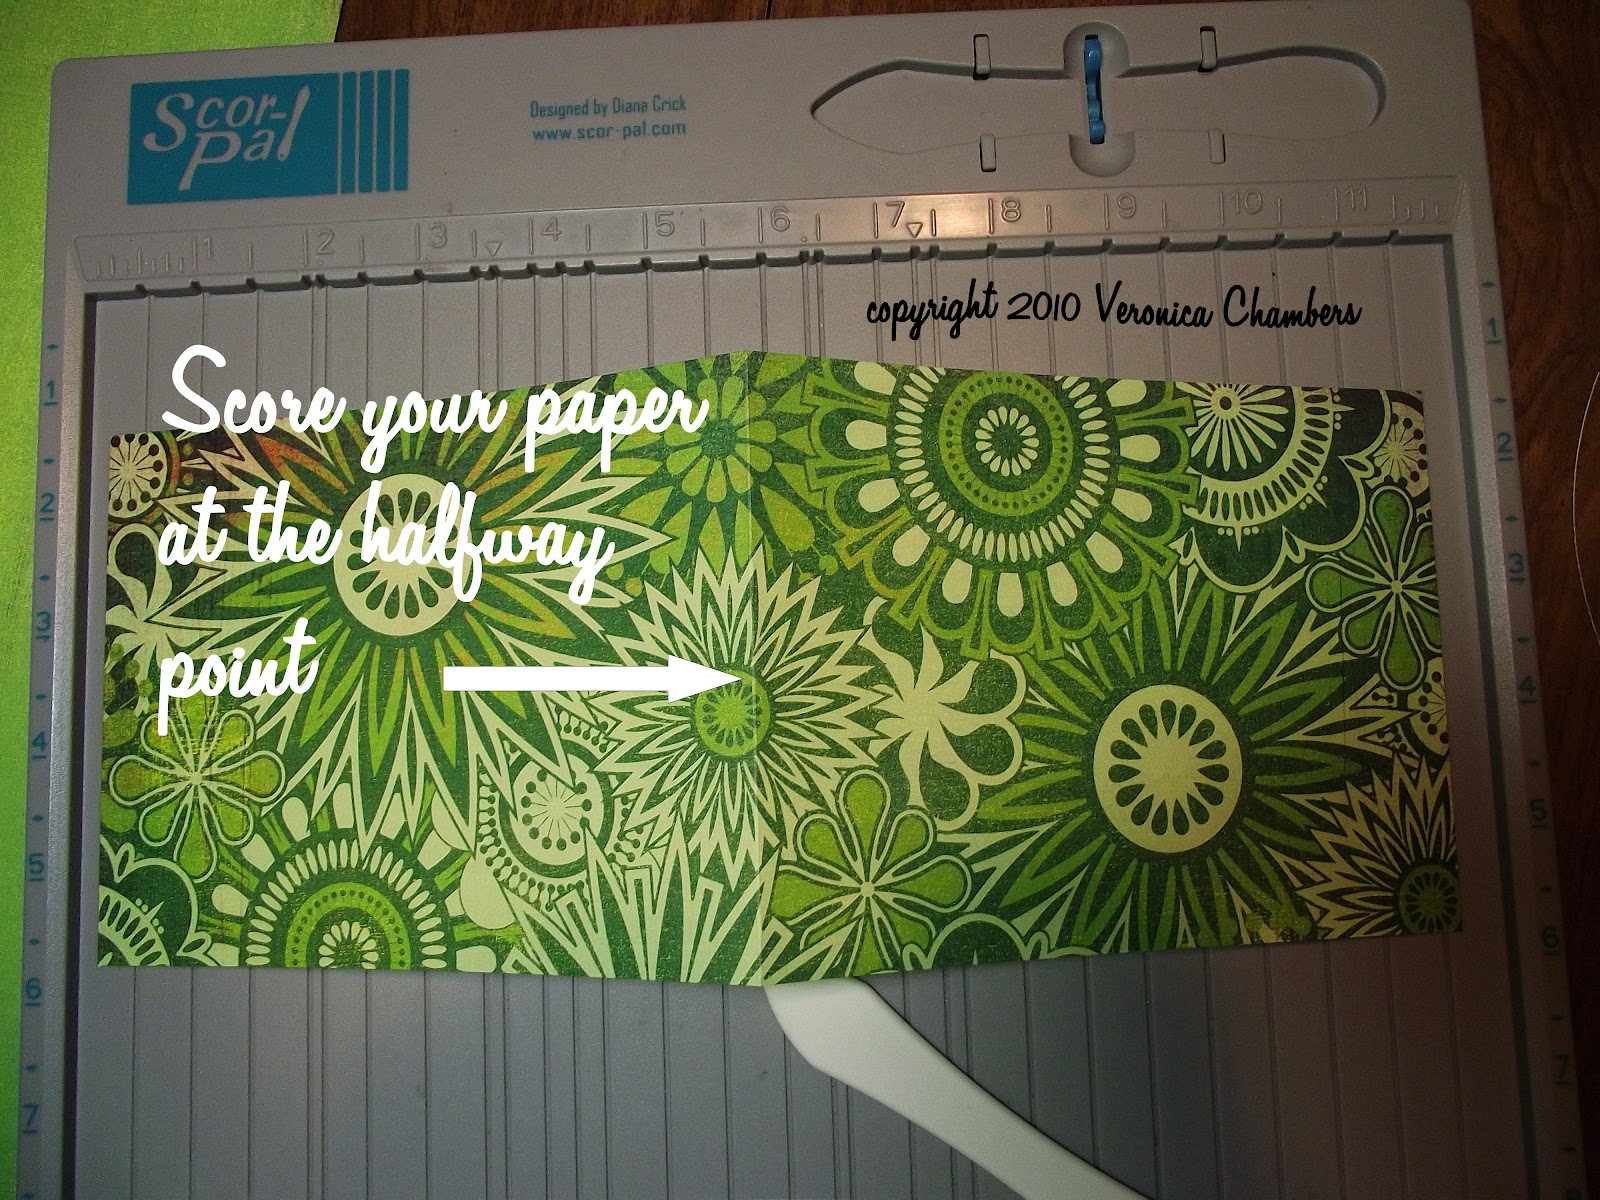
After cutting the base card, I went to my score board and scored on the halfway mark of just one of the rectangles.
Since the Basic Grey Lime Rickey paper is one sided, I decided to cover the bottom portion with a coordinating piece of card stock to cover the white. I placed it just shy of the cut lines so that it would be the same size as the card. I inked the white base just in case my gluing went awry.


Then I cut the base layer piece out of a single sheet of green paper using the die just one size down. I then embossed with a Sizzix folder and used Peeled Paint Distress Ink to bring out the embossing. I used a cut n dry foam pad and gently swiped over the raised portions.

 Next in line was the frame for the rectangle. I used a magnetic sheet I have to hold the two rectangles in place to get an evenly cut frame. I then put that through the Snowflake Cuttlebug folder.
I also cut a large rectangle from the patterned paper for the standing piece.
The next size down was cut for the stamping of the invitation. This was done on white card stock and edged with green and yellow inks. The Martha Stewart Dinner stamps were used. The green ribbon is simply there to hide a boo-boo. ooooppppssss.
Here are all of the components of the card.


All pieces were distressed with Shabby Shutters ink. Foam dots were placed under the frame to give some depth.

Now it is time to apply the standing piece to the card base. Remember that you are only gluing down half of the card. Only apply adhesive to the bottom portion of the card.


Glue the solid green piece to the bottom of the base card. Your card is now completed. The texture on the card and the base piece keeps the card standing.

If you want extra support stamp and cut out another element and adhere that about 1/3 from the edge of the base card. This will help the standing card stay in place.

It is now time to see if I can complete at least one more challenge. I have so much other work to do today that it might not happen. If it does, I will be certain to post it here.
Of course loaded with lots of ink.
Until then.
Oh the color..that is what grabbed me! Just love it.
ReplyDeleteGreen is my favorite color...You did a great job. It's soooo pretty.
ReplyDeleteVee, I just love this card......the color is stunning, and it's a great invite!
ReplyDelete