I ordered: Appetizer--potato wedges, Entree--Chicken Pasta, Soup--Cream of Broccoli and for Dessert--Chocolate Sundae.
That meant that my card/layout had to be:
Entree--Black
Appetizer--Square
Soup--Punched out shape or trim
Dessert--Stamped
So when I belched (lol) here is what came out.


My photography skills do not do justice to this card. The Pearl Ex makes it all very sparkly and pretty.
So how did I get started? It is a bit long so grab a cuppa and come back.
First, I selected the 12 x 12 American Crafts Black Metallic: Foil Linen card, cut it in half and then in half again so that I ended up with 4 6x6 pieces. I only used three of them.


 I then selected the Spellbinder Spades Pendant for my window opening. I stacked all three pieces of card and put them through my Cuttlebug. This cut the first piece and made impressions on the second two pieces. I used that as a placement guideline to cut the other two pieces.


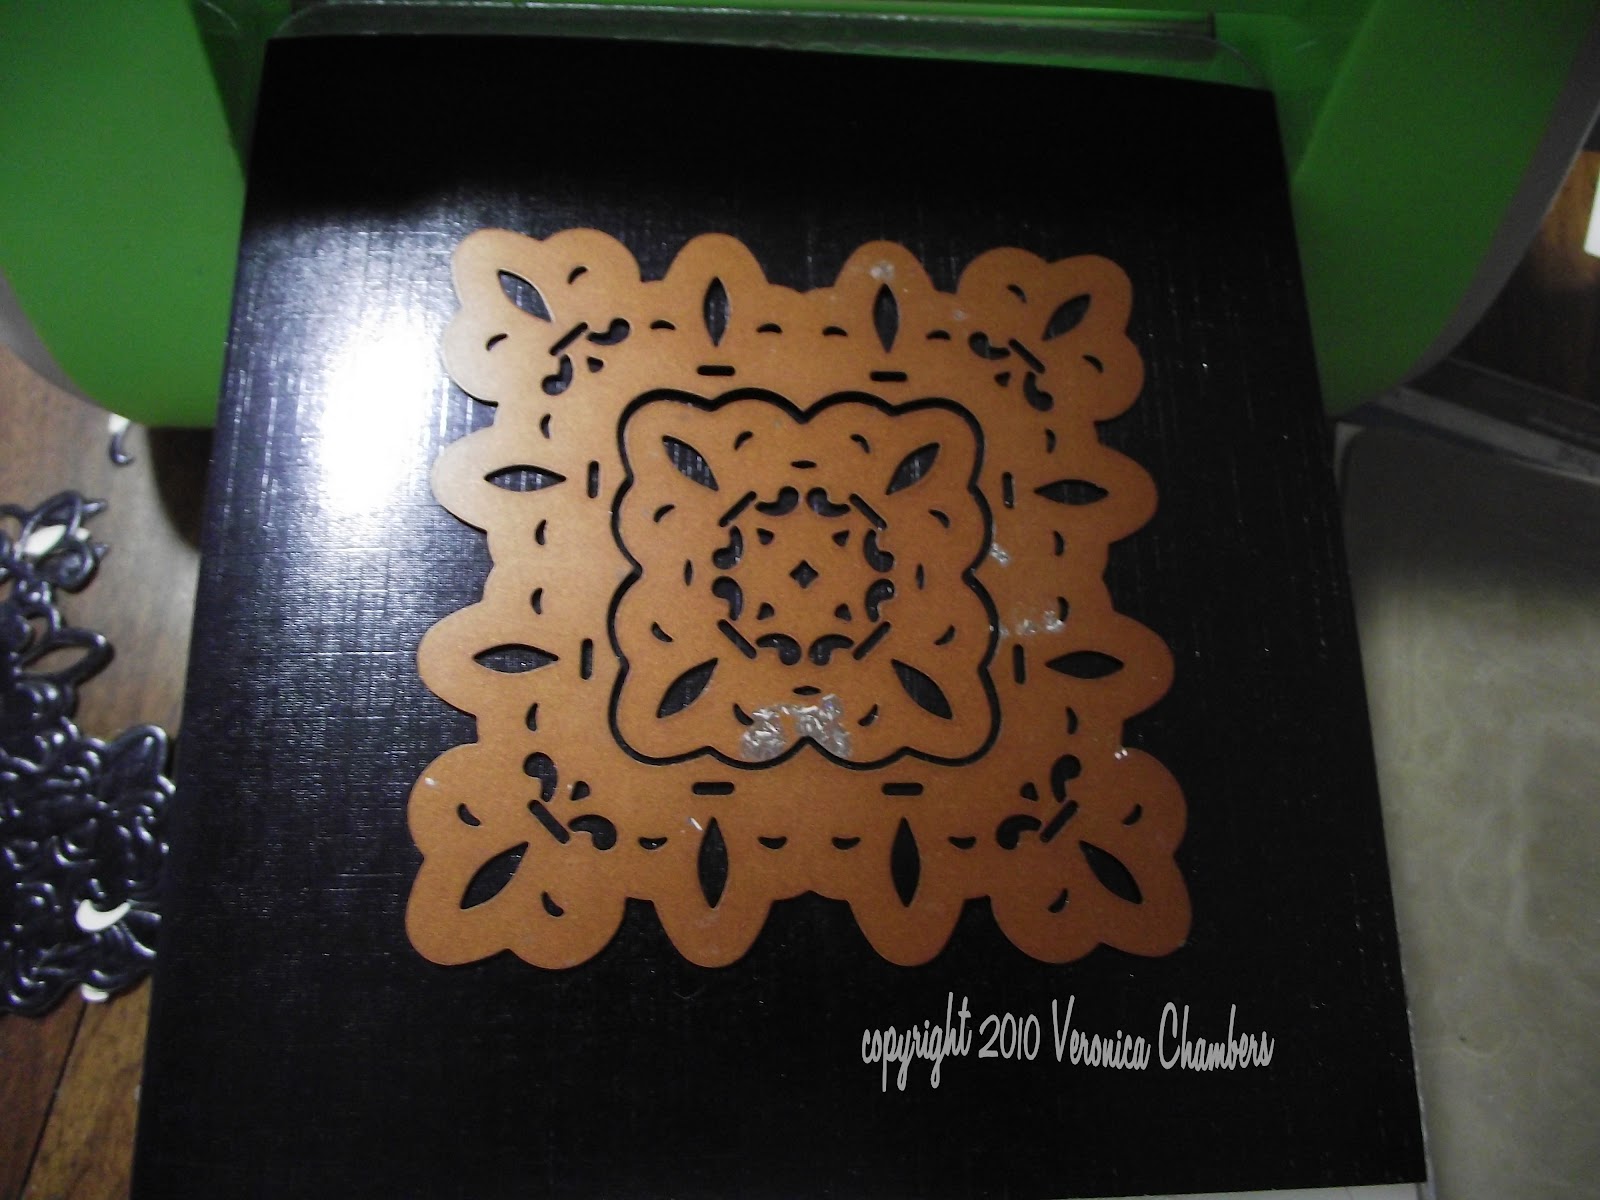 I then selected the Spellbinder Spades Pendant for my window opening. I stacked all three pieces of card and put them through my Cuttlebug. This cut the first piece and made impressions on the second two pieces. I used that as a placement guideline to cut the other two pieces.
 After cutting them I embossed each piece one at a time. I used the Sizzix Paisley board for this one. The sandwich I built was A Plate,Sizzix texture plate, Paper in face down, Purple embossing pad, two pieces of shim, and the purple plate that comes with the Sizzix kit. You can do the same with the CB B plate and the Spellbinder tan embossing mat, it might not cover the entire plate.


This extra bit of shim results in a nice crisp impression.

After going through the Cuttlebug, I needed to trim the sides of the card that became frayed. I removed 1/4 inch from each side resulting in a card that measures 5 1/2 x 6 inches.


Once all three pieces were trimmed decorating time came. I used my small Versamark cat's eye to rub over the raised portions of the card. I then used the Pearl Ex Powders: Super Gold, Super Copper, and Duo Red-Blue to 'color' my card. Once they were all 'colored' I fixed the Pearl Ex with this fixative. I sprayed into the air and then wafted the card through the mist. This sets the powder so that it does not rub off onto your hands.


Next, I scored all of the pendant frames right down the middle. Since I removed 1/2 an inch this might not be directly on a score line. Since you are dividing the frame down the center line it really has no bearing on where you place the piece to get your score mark.

After scoring and folding all three pieces, I was ready to glue. I used the ATG for this as the adhesive is VERY strong. (I found that if you have ink or mist or whatever between the two pieces you are gluing--using the ATG-- that if you make a mistake it lifts off pretty easily--if you do it right away.)

I applied adhesive to one side of the card and adhered it to one of the other matching sides. Be careful...b/c I trimmed the pieces, I want the edges to line up along with the inside pieces. You can nudge this a bit if you must.

Next I took a length of ribbon (Anna Griffin) tied a bow and placed it along the seam of the first two cards. Since this ribbon is very wide, I narrowed it by folding it over and using a strip from the ATG. This makes sure that it will not come open. Make sure it is attached at the bottom also.

I then applied adhesive to the other side and attached the third piece on one side only. Does that make sense? Again being careful to line up the cut pieces.
 Then I attached the embellishments to the card. For the small die cut I used the inside piece from the pendant die and 'colored' it with the Pearl Ex powders. I stamped the background script (Heidi Swapp) using the Hydrangea Big and Juicy. The Just for you was stamped with black archival ink and cut using the Inverted scallop Spellbinder die--also cut a black piece. I inked around the insides using black archival ink. I attached the medallion using my Quickie glue pen.
Finally, I affixed the last side and viola...thar she blows, matey.
I think for photographing this card properly, I needed more and better lighting. It is gorgeous in person. Oh, since this card is white on one side, I inked the exposed edges in blue ink. As you can see, I got a bit carried away with my fold and some of the white shows through, this can be easily fixed by using a black marker or ink to cover those white spots. If you like how it looks, leave it be.


After scoring and folding all three pieces, I was ready to glue. I used the ATG for this as the adhesive is VERY strong. (I found that if you have ink or mist or whatever between the two pieces you are gluing--using the ATG-- that if you make a mistake it lifts off pretty easily--if you do it right away.)

I applied adhesive to one side of the card and adhered it to one of the other matching sides. Be careful...b/c I trimmed the pieces, I want the edges to line up along with the inside pieces. You can nudge this a bit if you must.

Next I took a length of ribbon (Anna Griffin) tied a bow and placed it along the seam of the first two cards. Since this ribbon is very wide, I narrowed it by folding it over and using a strip from the ATG. This makes sure that it will not come open. Make sure it is attached at the bottom also.

I then applied adhesive to the other side and attached the third piece on one side only. Does that make sense? Again being careful to line up the cut pieces.
 Then I attached the embellishments to the card. For the small die cut I used the inside piece from the pendant die and 'colored' it with the Pearl Ex powders. I stamped the background script (Heidi Swapp) using the Hydrangea Big and Juicy. The Just for you was stamped with black archival ink and cut using the Inverted scallop Spellbinder die--also cut a black piece. I inked around the insides using black archival ink. I attached the medallion using my Quickie glue pen.
Finally, I affixed the last side and viola...thar she blows, matey.
I think for photographing this card properly, I needed more and better lighting. It is gorgeous in person. Oh, since this card is white on one side, I inked the exposed edges in blue ink. As you can see, I got a bit carried away with my fold and some of the white shows through, this can be easily fixed by using a black marker or ink to cover those white spots. If you like how it looks, leave it be.

When I was making my menu choices I had no idea I was selecting to do a black based layout, with squares, a punch out/trim and a stamp. I think I met the challenge. What do you think?

By the way, I have also done this as a two panel swing card by removing the center. This does fold flat for mailing.
FYI, I did not do Challenge 4--create a home decor piece using a word, wooden letters, etc. I wanted to do something for Z's Art Gallerie but the wooden pieces I wanted to use are packed in a container high on a closet shelf. I can see them, just cannot get to them.
I also bowed out on Challenge 5--that was to scraplift someone's layout from the site and change three elements.
Lo and behold, I did complete Challenge 6. You'll have to come back to find out what it was and what I did.
Lovingly done in ink might I add.
Until then.


